Tuesday, October 20, 2015

We Give "unifinished" Thanks


Warning! We Give Thanks project is unfinished!

What?! You say? Well yes I know I have it almost finished. I just couldn’t decide on one little tiny part of the project. So…I need your help! 

p.s. Soon you will realize that taking step by step pictures is not my strong suit. Maybe its because I find projects to be self explanatory once I see the picture of the product. So I guess you will have to actually read words this time as opposed to just looking at the picture.

Okay so thanksgiving is coming up and we don’t have many decorations for that season. Sometimes we just leave the Halloween ones up a little longer. So, I decided that we could create a picture. It can go on your counter or on a wall or even a desk. Where ever you would put a picture 
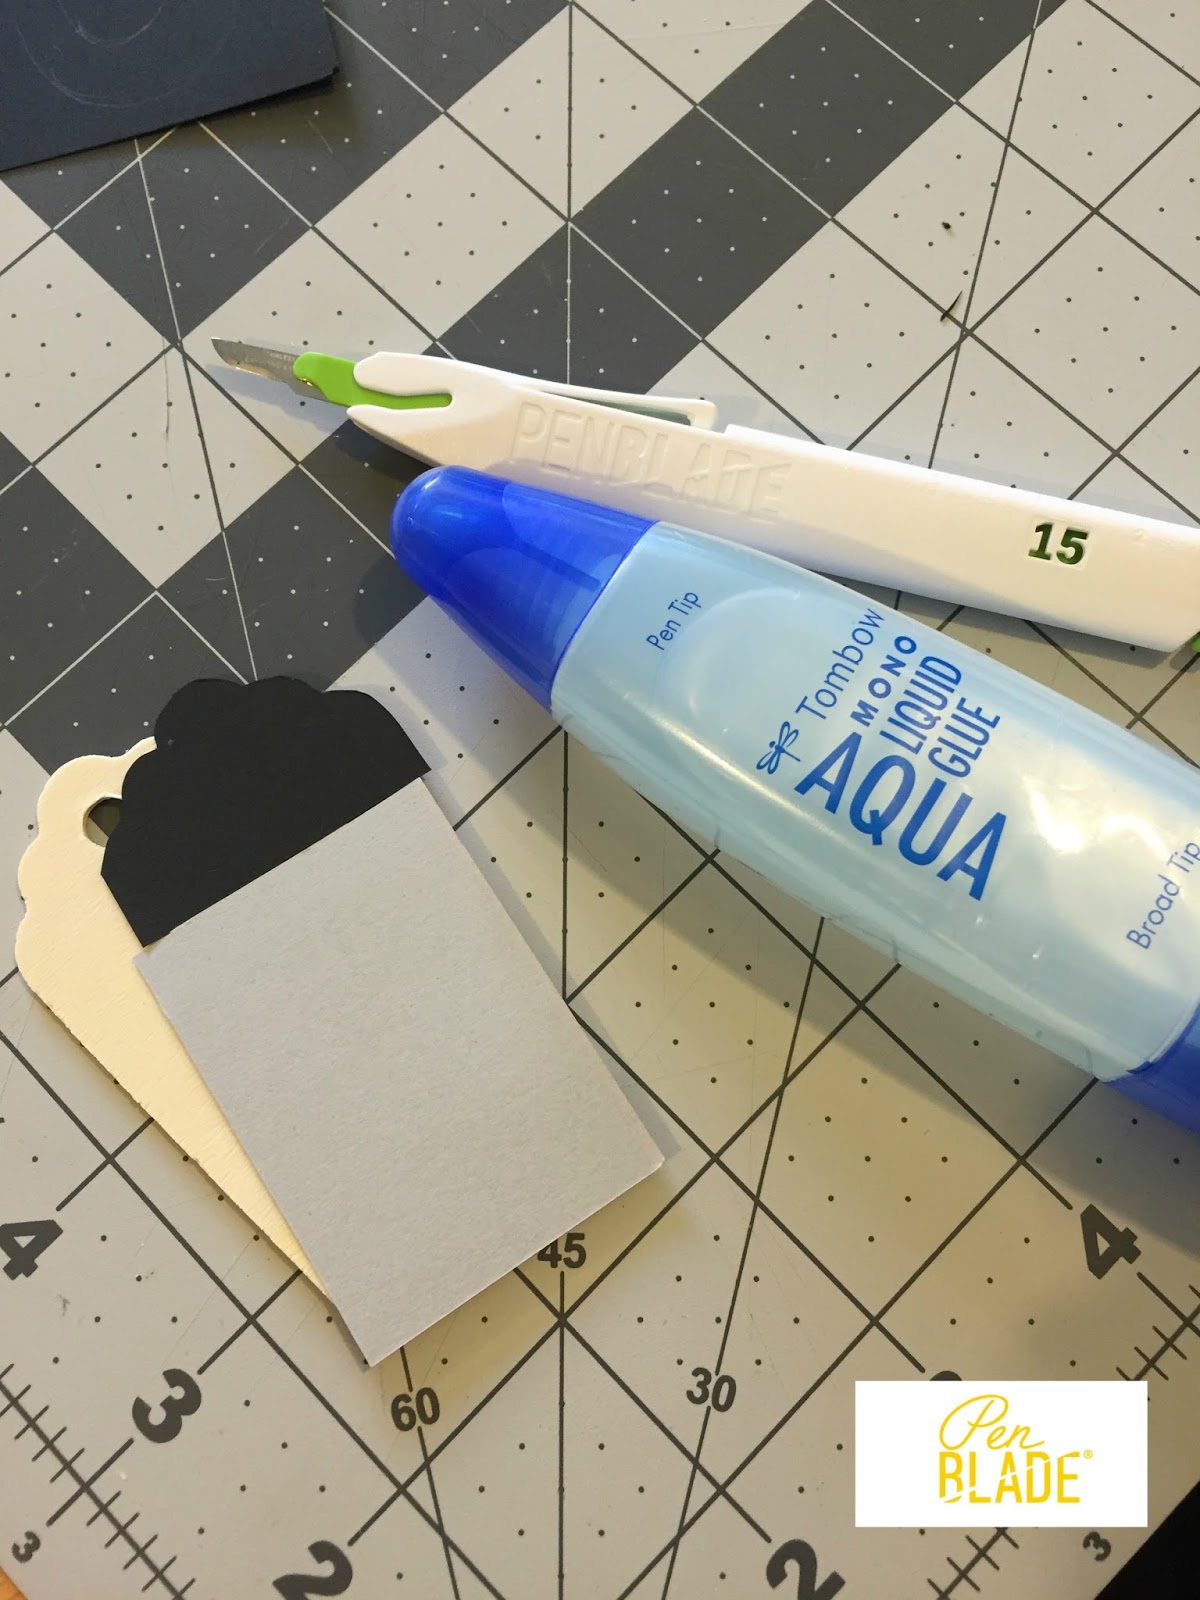
frame. I also wanted to use a blade that I haven’t used a lot of…the #15. But I also used the #11 for the super pointy edge!

Come up with a saying. It could be simple with 3 words or very very simple with 1 word or you can create a sentence. But beware! Your cursive has to be on point! Ha I lied. I do a mix of cursive/normal curly letters. But you DO need to have all the letters connect! Oh and try to avoid the letter i. It’s a pain because of the stupid dot. So some examples: thankful, give thanks, we give thanks (this is the one I used), we are thankful, blah blah blah create your own! Realizing as I typed this I chose the only one with the letter i. If you can figure out a way later tell me!

*Okay, grab a piece of construction paper and computer paper and *make sure they are the same size. 
*Give them each a one-inch boarder around the sides.
*Then grab your saying and write it out. Have the letters connect all the way across. Once you’ve got your letters laid out just go and make ‘em fat! Nice and thick letters=easier slicing. 
*Take your construction paper and have the good side kissing the table and the “ugly” side facing you. Lay down your pencil writing of your saying kissing the ugly side. Make sure they are centered and straight. 
*Then grab a pencil and scribble over the lettering that way the pencil rubs off onto your “ugly” side of the construction paper. It will be backwards and this is what we want!

Once it is all rubbed off, grab your cutting matt and start. You basically trace your wording and deleting the background image. Be calm and go  s...l...o...w. If you mess up, your cute little project will be not so cute. There you go! Just use the #15 blade to go around the curves and when you get to a sharp little corner use the #11 blade and make a precise cut. You’ll be fine. Trust me.

Okay so this is the part I need YOU for. It’s the background. I narrowed it down to two different backgrounds so help me.


Once you all help me choose, I will post the finished project up!     

Wednesday, October 14, 2015

National Dessert Day


Today HAS to be one of the greatest days! National Dessert Day! Who doesn't love desserts? If you are one of THOSE people who doesn't shh keep it to yourself. I don't want to know!
Anyways, My favorite dessert is Strawberry Shortcake. Super Simple, and Super Scrumptious.  (did you notice all those S's!)  This dessert actually is my Dad's favorite. He wants it for his birthday cake and his father's day cake every year. When I was younger I soon began to love it just as much as he does! p.s father's day is in June, his birthday is in July and so is mine! that is now 3 Strawberry Shortcakes in a two month period. That's pretty Stupendous! It is now something that I request my mom to make whenever she can. Also my grandma makes a mean shortcake and her cream is Spectacular! My mom has of course taken over the recipes so i can enjoy them more frequently. And guess what!? Just for you on this Special day I will Share with you the recipe.
Okay so my new favorite way to do Strawberry Shortcake on cake side is to go to Costco and buy the pound cake muffins or the angel food cake muffins I can't remember which. It's ssmart!
Get your lovely Strawberries and wash 'em nice and good and cut the tops off. Then get a chopper. I use the one from The Pampered Chief. Or just go old school and use a chopping knife. Then cop those Strawberries! I like when it's not perfect because I get the big chunks and I get some juice too!
Now it's time for the CREAM RECIPE! mmm.. yummm.. So delicious. But you have to promise that you will keep this recipe a Secret (: Yes I know I just published it to the internet but still shhh... Alright the granny/mom recipe from their notes:
I usually use about 1/2 quart of heavy whipping cream, 1 teaspoon of vanilla, and 3/4 - 1 cup of sugar. Make sure that cream is very cold!  You whip the cream and add sugar to cream quickly so the cream isn't granular in texture. Add vanilla and whip until desired texture.
Very specific huh? Well if you are not a baker like me it's not a whole lot of help. But you may have to try it a few times. My mom told me that to some people this may be a lot of sugar but HEY that's what makes it good!
How to assemble your glorious cake: So you take those yummy muffins and cut the muffin in half the horizontal way, that way you can almost make a muffin sandwich with yumminess inside! Then you place a layer of the Strawberries on top of the bottom muffin then add some cream, then put your muffin top on and add some cream and then a few Strawberries on top for beautification purposes. Now I understand some of you will be disappointed in that I didn't show you my final result but hey, I get too excited for it and eat it right away! So you can just deal with looking at someone else's photo!
Anywayenjoy your yummy desserttoday! Eat Lots! Call your grandma or your mom and bake something with her!

My Grandma and I
- A

Monday, October 12, 2015

Halloween Monster Tags


Halloween Monster Tags


Who is excited for Halloween ??


We are here at PenBlade! We like to give cute little gifts to those we love and decided to create tags to go on those little gifts. It spices up the gift and shows them how crafty you are at the same time!  The Wooden tags we bought from the Wooden Connection in Utah, as you will soon find out, we Love that place!  Once you have the tags its pretty simple. Just find some monsters you’d like to create. I chose, Frankenstein, Dracula, The Witch, a Pumpkin, and a Mummy. I had my favorites of course by make a few and then make multiples of each. 

Supplies you will need:

*Craft paper (lots)
*PenBlades (I used all three blades in this project!)
*A cutting bored
*Glue
* Cream Ribbon
*A black Sharpie


Okay so first thing to do:
Look at how cute mine turned out :)
Then make it!
Okay but seriously it’s easy. Outline your wooden tag on the paper that you want as your background. Depending on which one you do will be different colors. P.s I didn’t take photos of all of them, because I forgot.  So once you get your base be creative. Look at mine, Look online, Look in your brain.  


Whether it’s a two-tone background or a solid color use the tag as your stencil. Glue it down and add your details. Cut out the eyes, or the teeth, or the hair. Once you’ve added your details. Make sure you cut out that hole for your string. I used the #15 I find that with the #15 I can curve more. I used the #10 for those straight lines. And the #11 for the edges where I wanted them to be perfect! Glue everything on and then get your sharpie out and start drawing on the features.


 For the mummy one I just did half the black and then added the yellow eyes. I then took some cream ribbon and just started wrapping then attached with some good glue. I used a glue gun but really anything will work. Boom! TADA! Congrats you've finished. Now attach them to the cute little gifts you are giving away this Halloween. p.s if you wanna by some PenBlades at a discount, Go to our website www.penbladeknife.com and use the code: BLOG12
.


Tuesday, October 6, 2015

Fall Banner Craft

F U N   F A L L   B A N N E R


You always need to have something hanging from a mantel or dangling from a doorway! It adds cuteness to your home and it is so easy to make. So make an easy fall banner with these steps

Things you will need:
  • #10 PenBlade
  • Wooden Banner (we used wood so it was more durable. Check out Pick your Plum, its where we bought ours!)
  •  Cute Paper and lots of it! 
  • Chip board letters (or if you have pretty hand writing just free style it)
  • Ink pad (if you use chip board letters)
  • Jute Twine
  • Spray Adhesive

The Steps are easy and it's pretty self explanatory, just look at the pictures! I know that's all you do anyways! 
We chose 8 different card stock prints for the banner. I placed the wooden triangles on the paper and glided the PenBlade along the sides.

You then use spray adhesive to attach the paper to the wooden banner. Be careful! This spray adhesive really sticks! So, do it outside on a box or something you don’t mind getting sticky!

We used chip board letters on our banner. We inked our letters but You could also paint them or cover them with paper! Or if you have calligraphy skills just draw on your own letters.

Tada! Cute little ink letters. 
P.s we had to buy two sets of these letters to get two L’s

Glue it all together and BOOM!

We then connected all the pieces with Jute Twine

Using our super nifty Penblade we used the trimming groove to easily cut the extra twine. Its perfect so you don’t have an exposed blade
Perfect! Your banner is now complete! Go hang it somewhere pretty!

 
See how easy that was? You are now a pro at making banners. Do this for any season and your home will always be adorable.  P.s If you want a fun discount code go to our website (Click Here) and when you make a purchase, type in the discount code: BLOG107